beetles Gel Polish
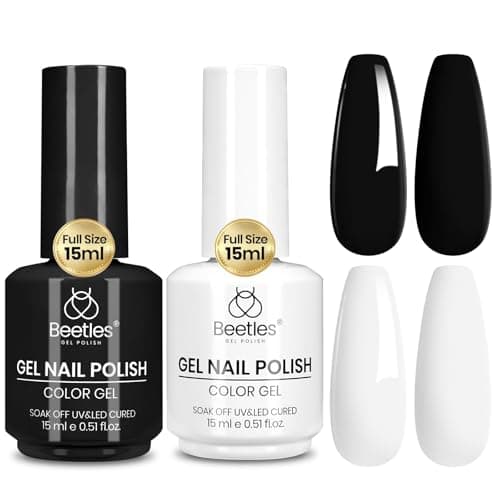
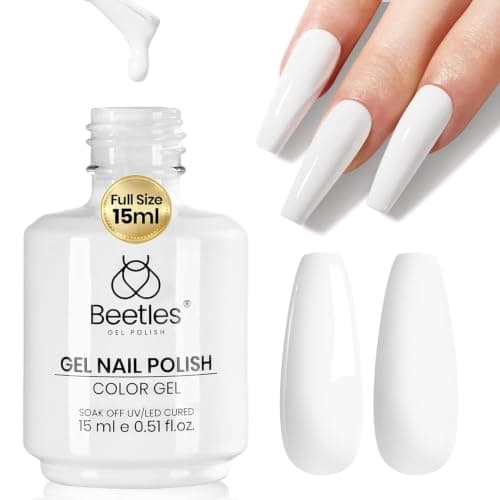
Beetles White Gel Polish, 15ml
$5.424.4 (69,251)
The whiteThe default one-coat white for tip lines — rank 200 across the whole nail category, and opacity is everything on a French tip.
Shop on AmazonHow to do french tips at home, step by step — the three ways to make the smile line, the prep that stops lifting, and how to fix a wobbly curve.
Learning how to do french tips at home takes one evening and hinges on a single decision: which of the three methods you use to make the smile line. Everything else — prep, base colour, sealing — is ordinary manicure work that you may already know.
Most tutorials skip straight to "draw the curve" and leave beginners failing at the one step that is genuinely hard. So this starts with the choice.
“I always apply a primer, because if I don't, my nails pop off.”
Sukie's take: Her blunt point about primer is the prep lesson of this whole guide: adhesion is decided before any colour goes on. The rest of the video is the two-stroke line drawn at beginner pace, which is the speed to copy.
“Paint above the French tip guide and cap the free edge before curing, then gently remove the guide.”
Sukie's take: All four line-making methods from this guide — guide, freehand, stamp and sponge — demonstrated back to back in three minutes. If you are unsure which method suits you, this comparison settles it faster than trying each.
The default one-coat white for tip lines — rank 200 across the whole nail category, and opacity is everything on a French tip.
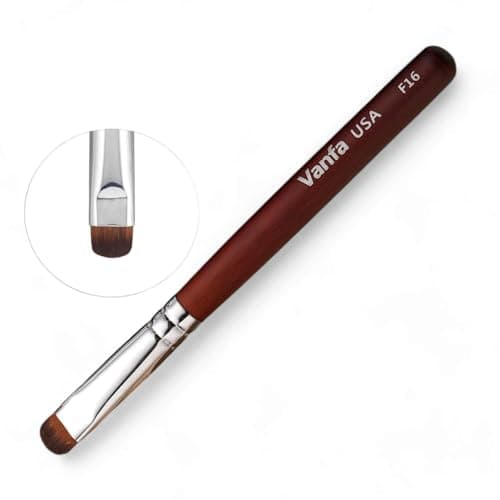
Shop on AmazonThe carve-the-line-back tool — the most forgiving smile-line technique there is lives on this brush.
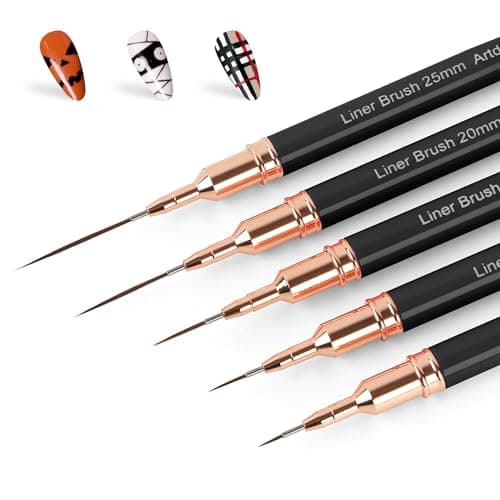
Shop on AmazonBest-selling liner set — long bristles hold enough polish to pull a full curve without reloading.
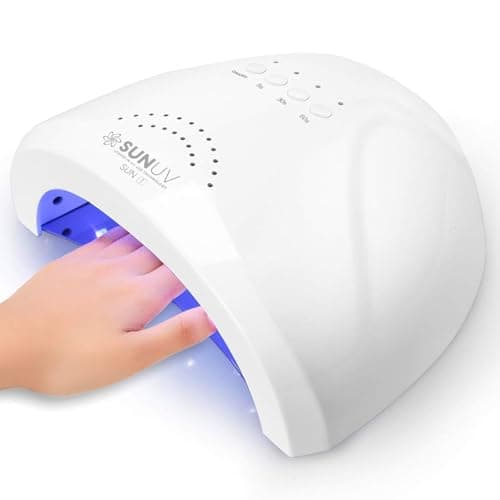
Shop on AmazonThe known-brand lamp default — the purchase that unlocks gel's fix-before-cure advantage.
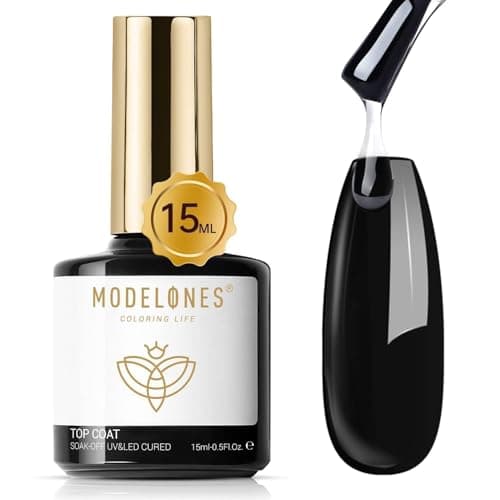
Shop on AmazonThe high-gloss seal — and the mandatory layer under any chrome powder.
Shop on AmazonThe sheer nude-pink base half of a French — rank 141, and the natural-nail illusion depends on exactly this sheerness.
Shop on AmazonProduct prices and availability are accurate as of October 17, 2026 and are subject to change. Any price and availability information displayed on Amazon at the time of purchase will apply. As an Amazon Associate we earn from qualifying purchases. Star ratings reflect Amazon customer reviews at the time of our last check.
Freehand with a liner brush. You draw the arc directly. Sharpest possible result, hardest to learn, and the one every nail artist eventually uses. Needs a long striping brush, not the brush in the polish bottle.
Guides or a stamp. A sticker masks off the tip, or a silicone stamp presses the curve on. Removes hand steadiness from the equation. Guides are cheap but rate poorly; stamps are more reliable.
The clean-up method. Paint the tip roughly and deliberately over-shoot, then take a flat brush dipped in acetone and carve the curve back out. You are correcting rather than committing.
If you have tried French tips before and been frustrated, use the clean-up method. It is the most forgiving by a wide margin and almost nobody recommends it to beginners.
The two purchases that most affect your result are the white polish and the brush. A sheer white will defeat any technique, because the second coat you need for coverage cannot land inside the line you already drew.
This takes four minutes and prevents most of what goes wrong later.
Shape all ten nails to the same silhouette. Push cuticles back and remove anything overhanging the plate — polish bonded to cuticle is a guaranteed lift point. Buff the shine off lightly; you are removing the slick top layer, not thinning the nail. Then wipe every nail with alcohol and do not touch them again — the oil from your own fingertips is enough to compromise adhesion.
If your manicures usually start lifting within days, this paragraph is almost certainly why.
Base coat, cured or dried. Then one or two thin coats of your sheer colour.
Keep it sheer. An opaque nude flattens the whole illusion — the French look depends on the eye reading the base as natural nail. Thin coats also cure evenly; thick ones stay soft underneath and wrinkle.
Whichever tool you chose, the motion is the same, and it is two strokes, not one.
Load the brush properly — flood it, then wipe one side only so it holds product without dripping. Place the tip at one side wall, roughly where the nail begins to curve away. Pull toward the centre of the nail in one steady motion, and lift off.
Now mirror it from the other side wall, meeting your first stroke in the middle.
Trying to sweep the whole arc continuously means reversing direction halfway through, and that reversal is exactly where the wobble appears. Two strokes eliminates it.
Work your non-dominant hand first, while your patience and your polish are both fresh. Saving the harder hand for last is why so many people end up with one good hand and one bad one.
Roughly 15% of the visible nail. On a short nail that is one to two millimetres; on a long nail it can be three or four.
Thicker tips visually shorten the nail, because the eye reads the white band as the end. If you are unsure, go thinner — a micro-French is both more current and more forgiving of an imperfect line.
Curve depth follows the same logic: shallow curves suit short nails, deeper curves need length to sit in. See French tips on short nails if that is your situation.
This is the skill that changes everything, and it is the reason the clean-up method is worth learning even if you draw freehand.
Take a flat, firm brush. Dip it in acetone (for regular polish) or gel cleanser (for uncured gel). Wipe along the line, pushing the colour back toward the tip. You are subtracting, not adding.
You can straighten an uneven curve, deepen one side to match the other, or thin a band that came out too thick. Keep a brush and a small pot of remover next to you and this stops being stressful — assume you will need it on at least one nail out of ten.
If the polish has already cured, you cannot carve it. Wipe that nail's tip area back to the base and redraw just the tip; because the base is cured underneath, surface acetone will not disturb it.
Top coat over the whole nail, and cap the free edge — run the brush along the very end of the nail, not just across the surface. Capping is what stops the tip chipping in week one, and it is the single most-skipped step in home manicures.
Cure, then oil the cuticles. Oil after curing, never before.
Gel lasts two to three weeks, cures instantly under a lamp, and stays workable until you cure it — which means unlimited time to fix a wobbly line. That last property makes gel genuinely easier for French tips despite the extra equipment.
Regular polish needs no lamp and costs nothing to start, but it sets as it dries, so your correction window is short. It also chips at the tip first, which is the most visible place on a French manicure.
If you own a lamp, use gel for this. If you do not, regular polish works — just accept a shorter wear time and be quicker with the clean-up brush. French tip acrylic vs gel covers the longer-wear options.
Do not practise on your own nails. Use cheap plastic practice tips, or the lids of polish bottles you already own, and draw the curve twenty times in a row.
What you are training is specific: the pressure at which the bristles splay to the width you want, and the speed at which polish flows evenly rather than pooling or skipping. Twenty repetitions on plastic teaches more than five real manicures, because you are isolating the one motion instead of doing it once per nail with ten minutes of other work in between.
Prep, ten minutes. Base and colour, fifteen for gel. The tips themselves, fifteen to twenty-five on a first attempt, settling to about ten once the motion is familiar. Top coat and cure, five.
So 45 to 60 minutes for a first gel French, dropping to around 35. Do not attempt it in the twenty minutes before you need to leave — rushing the smile line is how you end up redoing the whole set.
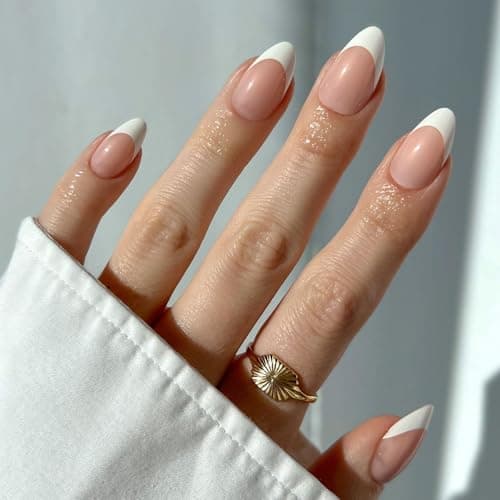
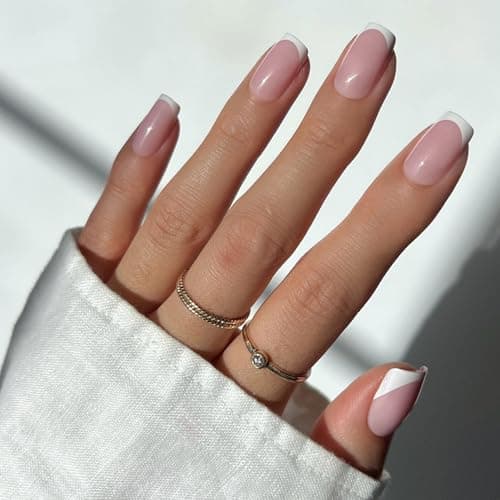
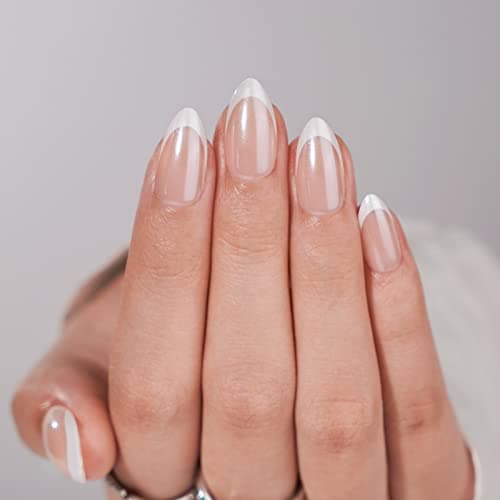
Nothing wrong with this. Press-on French tips get you the look in fifteen minutes with no skill required, and a good set at $8–$16 costs a fraction of the salon price.
The last five per cent that separates a home French from a salon one is almost always the cuticle line rather than the smile line.
Take the same flat brush, dip it in remover, and run it around the cuticle and side walls to lift any polish that crept off the plate. Do it before curing if you are using gel, because cured gel on skin has to be filed rather than wiped.
Polish touching skin also lifts sooner — the skin moves and the polish does not — so this is a durability step as much as a cosmetic one.
Most first attempts fail in one of six recognisable ways. Match the symptom, and the fix is usually one step.
| What you see | What caused it | Fix |
|---|---|---|
| The line wobbles in the middle | One continuous sweep that changed direction | Two strokes, side wall to centre, from each side |
| The tip looks thick and shortens the nail | Depth over ~15% of the visible nail | Redraw thinner; carve the excess back with cleanser |
| The white is streaky | A sheer white, or one coat of a two-coat white | A one-coat white or a liner white; never a second full coat inside the line |
| The tip lifts or chips in days | Oil on the plate, or an uncapped free edge | Alcohol wipe before base; run the top coat over the edge |
| A ridge along the smile line | A second coat landed on top of the first | One opaque pass; if two, make the first shallower |
| Polish on the cuticle after curing | No clean-up before the lamp | Flat brush and cleanser around the cuticle before curing |
The first two rows account for most of the disappointment, and both are fixed by the two-stroke method plus the mirror test — look at one finished nail at arm's length before doing the other nine.
For the fridge door: shape → cuticles → buff → alcohol wipe → base coat → sheer (one or two thin coats) → tip, two strokes, non-dominant hand first → clean-up brush → cure → top coat, capped → cure → oil. Thirteen steps, and the ones people skip — the wipe, the clean-up, the capping — are the three that decide how long it lasts.
If you are starting from nothing, the purchases that change the result most come first: an opaque white or a liner white, then one line tool (a liner brush for drawing, a flat brush for carving, or a stamper for pressing), then a sheer base, then the lamp if you are going gel. The French tip shop is organised in exactly that order — white gel polish, brushes, guides and stamps, nude bases — and the kits page is for anyone who would rather buy the decision than make it.
The dermatologists' view of all this — soak rather than peel, oil the cuticles, file in one direction — is the American Academy of Dermatology's nail care basics.
How to ask for French tips at the salon if you would rather book in. What are French tip nails for the background. French tip nail shapes to choose a silhouette.
For the finished looks, white French tips, nude French tips and simple French tips are the best places to start, all reachable from the french tip nails homepage.
What French tip shoppers are buying this week, across every category.
Want to see this on real nails?
Every style page shows the finish close up, a creator video, and the products used to get it.
New Year French Tip Nails: The One Night Glitter Is Correct
New year french tip nails for the night and the weeks after — where metallic and glitter genuinely belong, and what you'll regret on January 2nd.
Christmas French Tip Nails Without the Costume
Christmas french tip nails that read festive rather than novelty — the colours and finishes that work in low winter light, and when to book.
Black Friday Nail Deals: What Is Actually Worth Buying
Black friday nail deals, filtered — which nail products genuinely discount, which never do, and how to build a French tip kit without buying filler.
French Tips for Kids: Safe, Simple and Actually Doable
French tips for kids on short little nails — which products are safe at which ages, the peel-off polishes, and a method for nails that won't sit still.
Thanksgiving French Tip Nails: Warm, Simple and Photograph-Ready
Thanksgiving french tip nails in the warm neutrals that suit the table and the photos — why to book earlier than you think, and what survives cooking.
How Long Do French Tip Nails Last? Every System, Honestly
How long do french tip nails last — polish, gel, acrylic, extensions and press-ons compared, and why a French grows out better than solid colour.